01 Engineered stone
02 Natural stone
03 Compact and porcelain surfaces
04 Solid timber
05 Laminate
06 Template, fabrication, fitting
Kitchen benchtops in Moorabbin: materials, edges and fitting
Five surfaces, judged on the same six criteria

Engineered stone
DurabilityHard and consistent across the slab; corners and unsupported overhangs are the vulnerable points.
HeatResin-bound — trivets always, never a pan straight from the cooktop.
StainsNon-porous. No sealing, no penetration from oil or wine.
Edges20mm square or pencil as standard; mitred aprons of 40–80mm for a heavier look.
JoinsColour-matched adhesive; position agreed at template, kept away from sink cut-outs.
UpkeepWarm water and mild detergent; abrasives and strong alkaline cleaners dull the finish.
Natural stone
DurabilityGranite wears hard; marble is softer and takes a patina rather than staying new.
HeatMore tolerant than resin-bound surfaces, though protection is still sensible.
StainsPorous. Sealed at installation and resealed over its life; citrus and oil wiped promptly.
EdgesPencil, bullnose or mitred; the profile exposes the veining, so it is chosen at the slab.
JoinsVein-matched where the slab allows; matching costs offcut, so it is priced in advance.
UpkeeppH-neutral cleaner only; no vinegar or bleach-based sprays.
Compact & porcelain
DurabilityVery hard and colour-stable; thin panels rely on continuous support beneath.
HeatThe most tolerant of the five surfaces here.
StainsNon-porous and nothing to reseal.
EdgesSlim 12–20mm for a light plane, or mitred up to a thicker apron.
JoinsVery fine lines; cut-outs demand experienced fabrication and accurate templating.
UpkeepWipe clean; the surface pattern is printed and fired, so it will not wear off in use.
Solid timber
DurabilityIt marks — and unlike the hard surfaces it can be sanded back and re-finished rather than replaced.
HeatScorches. Keep it away from the cooktop run or accept the record of use.
Stains & waterPorous under oil finishes; the zone around an undermount sink is the weak point, which is why timber is often used on an island and stone on the sink run.
Edges & joinsAny profile; laminated panel joins with movement allowed for across the width.
UpkeepRe-oiling on a routine, more often around the sink and drainer.
Laminate
DurabilitySound under ordinary use; impact damage at an edge cannot be repaired invisibly.
HeatThe lowest tolerance of the five; a hot pan leaves a permanent mark.
Stains & waterThe face is sealed; the risk is water entering an exposed edge or a sink cut-out and swelling the substrate.
Edges & joinsSquare, bevelled or rolled with a bonded edge; corners joined and bolted on site.
UpkeepWipe only, no abrasives; it earns its place in a makeover or a rental where budget goes to layout first.
Template, fabrication and the fixed point in the build
01 Cabinets first. Carcasses are fixed, packed and levelled. A top templated from a drawing inherits every millimetre the walls are out.
02 Digital template. The real room is recorded — wall bow, returns, window reveals, overhang and the exact sink and cooktop positions.
03 Sign-off. Slab layout, join positions, edge profile, cut-outs and any waterfall end are confirmed before cutting, with the lead time given at the same visit.
04 Fabrication off site. Cutting, mitring and polishing happen in the workshop; nothing about the kitchen changes while it runs.
05 Install and reconnect. Pieces are carried in, levelled, bonded, joined and siliconed, then the sink and tap are plumbed back in.
06 Then the splashback. Tile or glass is measured from the finished bench height, never before it — see Kitchen Splashbacks.
Sinks, cut-outs and the details that date a benchtop
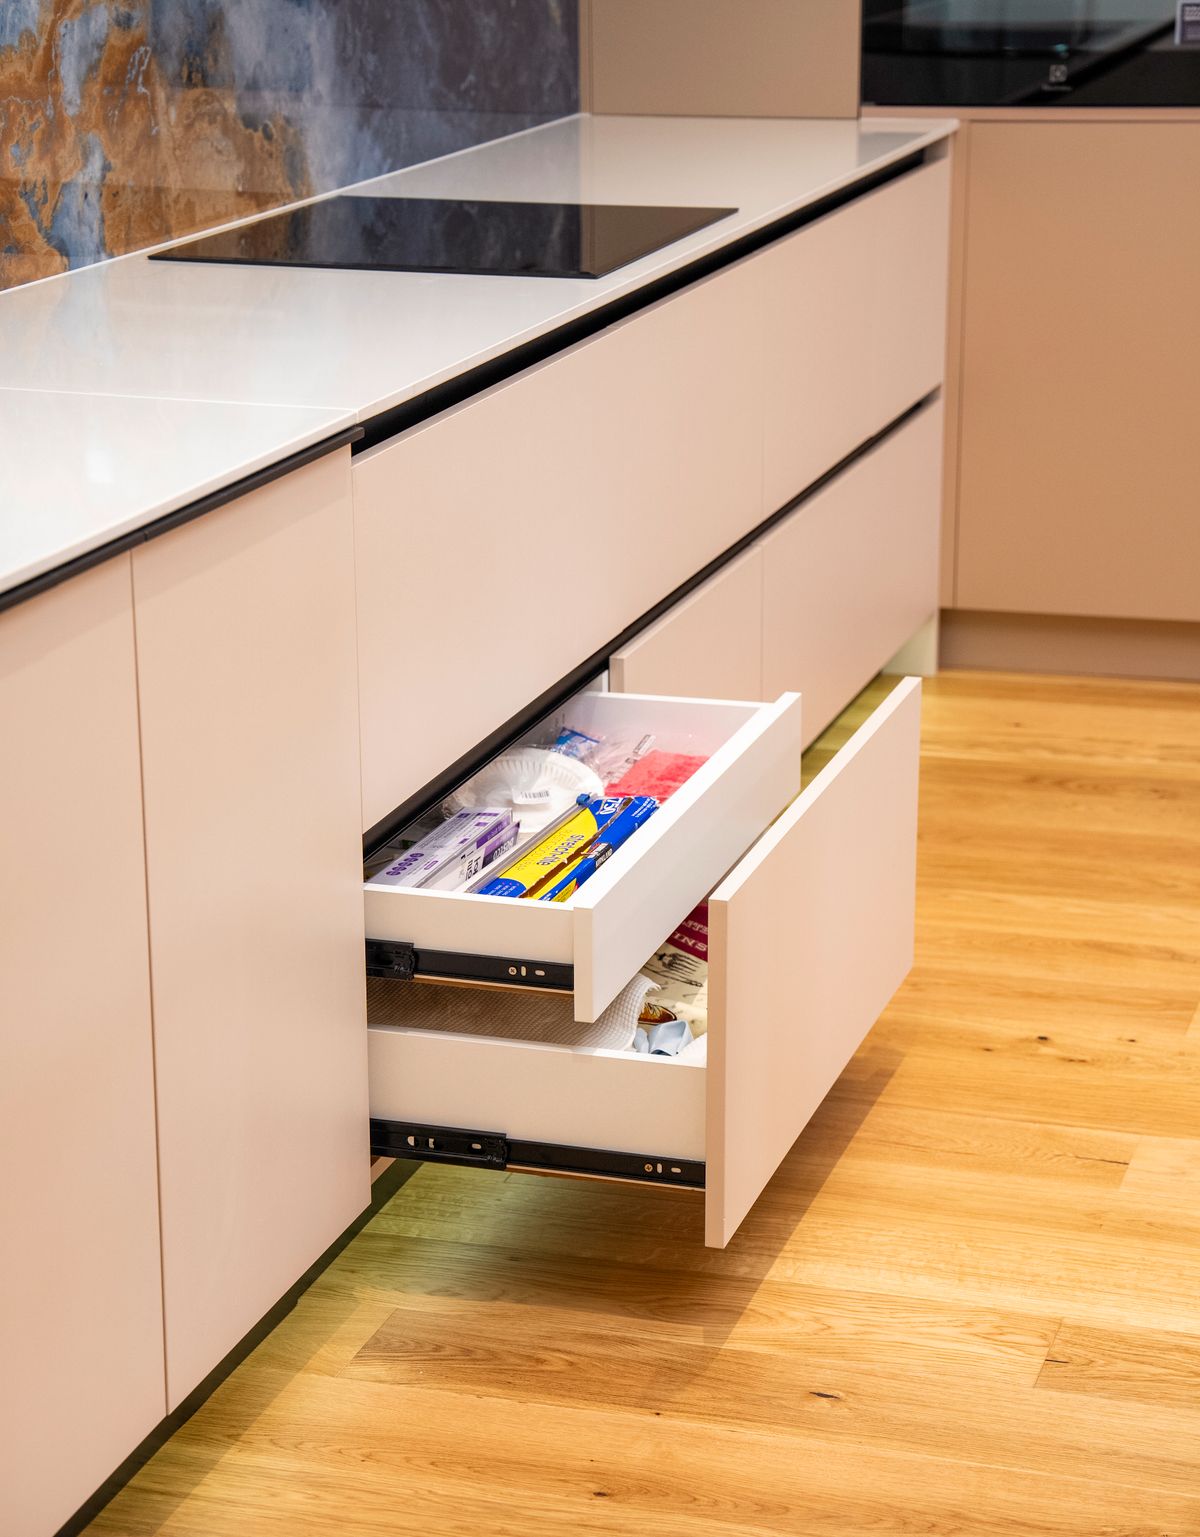
Replacing a benchtop on cabinets you are keeping
Can we replace only the benchtop?
What about a benchtop overlay?
Does the splashback come off too?
How long is the kitchen out of use?
Bring the measurements and we will price the surface
Kitchen Cabinets
Carcass depth, overhang and drawer lines — settled before any top is templated.
Kitchen Splashbacks
Tile, stone or glass, measured from the finished bench height.
Kitchen Makeovers
New top, new doors, same layout — the keep-the-plan route.
Complete Kitchen Renovations
When the layout moves and the benchtop is one stage of twelve.
Guide: benchtop materials compared
The longer read, written for kitchens that get used hard.