Home / Kitchen Guides / Renovation Planning
Measure book — guide, planning and sequence

Planning a kitchen renovation step by step
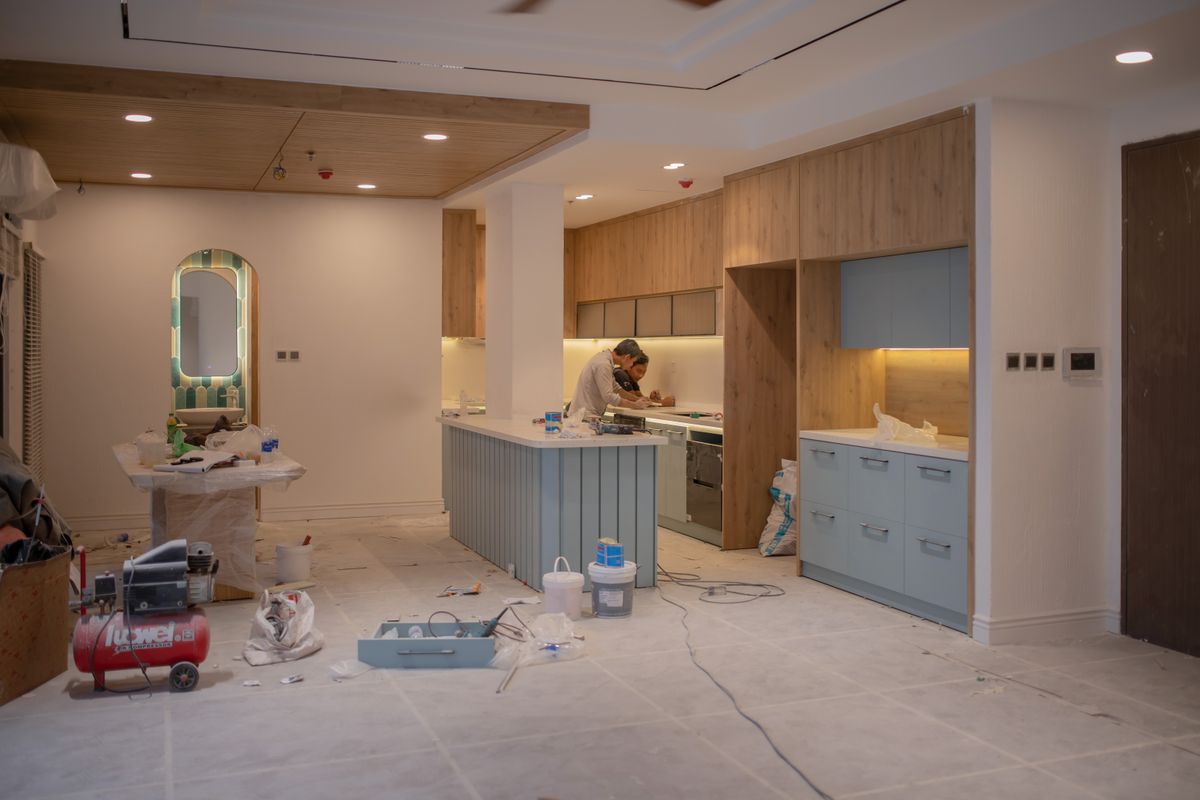
A kitchen is decided long before anything is removed. Almost every regret — a bin in the wrong place, a fridge door that blocks the walkway, a benchtop joined across its busiest metre — traces back to a decision made quickly at the beginning, or to a measurement nobody took.
This guide walks the planning in the order it actually happens: recording how the current kitchen fails, measuring the room properly, settling whether the layout or only the finishes must change, sequencing the material decisions, preparing for demolition, and living in the house while the work runs. Each step maps onto a stage of our twelve-stage renovation process.
Field label — scope of this guide
Six steps sit between a frustrating kitchen and a plan worth pricing.

What planning actually decides

01  Record how the kitchen fails  A week of noticing, written down

02  Measure the room  Walls, heights, doors and services

03  Layout, or only finishes  The decision everything else follows

04  Materials in build order  Cabinetry first, lighting last

05  Prepare for demolition  Access, dust, storage, services

06  Live through the build  A temporary kitchen that works

Field label — before the tape
Faults are evidence. Wish lists are opinions.
01

Write down how the kitchen fails you

Spend a week noticing rather than designing. The notes you make while cooking dinner are worth more at the design table than any saved image, because they describe your room and your habits instead of somebody else’s.

Where you cannot move — two people in one corridor, the oven door open, the dishwasher blocking a drawer.

What has no home — the kettle, the boards, the recycling, the appliance used daily and stored out of reach.

What you avoid — the corner cupboard, the top shelf, the second sink bowl.

What has failed — doors out of line, swollen board under the sink, grout you have stopped cleaning.

What the light does — at breakfast on the bench, at dinner over the cooktop.

Then measure the room, not the cabinets

Measure wall to wall at floor level and again at bench height; older brick and plaster in Moorabbin and Highett rarely agrees with itself. Record ceiling height, sill heights, and the swing of every door into the room. Mark the waste position, the gas point, the meter box and the switchboard, and note which walls are external. These positions, far more than taste, decide what a new plan can afford to do — which is why a measure sits at the front of Kitchen Design rather than after it.
Field label — the fork in the plan

Layout, or only the finishes?

Your notes usually answer this. Faults about movement and reach point one way; faults about wear and appearance point the other.
Settle this before you look at a single sample.
Option A

Change the layout

What moves
Benches, sink, cooktop, power and gas positions; sometimes a doorway.

What is disturbed
Plumbing and electrical rough-in, plaster, and usually the floor.

Where cost concentrates
Trades and services relocation, plus new joinery to every run.

What design produces
A new plan and elevations, with appliance and clearance checks.

Right answer when
The room works against you: no landing space beside the oven, a fridge in the walkway, two metres of bench doing the work of four.

Option B

Keep the layout

What moves
Nothing structural — doors, surfaces, handles and fittings only.

What is disturbed
Benchtop, splashback, doors and hardware; services stay put.

Where cost concentrates
The surfaces you see and touch: stone, doors, splashback.

What design produces
A finish schedule, and a measure of the existing carcasses.

Right answer when
The plan already works and the carcasses are square, dry and sound. Only the finishes have aged.

Field label — selection sequence

Material decisions, in the order they are needed

Choose in build order and nothing has to be unpicked. Choose a splashback tile first and you may spend the rest of the project defending it.

01  Cabinetry — carcass material, door profile and finish. Every other dimension is set out from it. Kitchen Cabinets, or Custom Cabinetry where the run is awkward.

02  Benchtop — material, thickness, edge, where joins fall and how the sink is fitted. Kitchen Benchtops.

03  Splashback — settled beside the benchtop, not after it, so the two planes are resolved together. Kitchen Splashbacks.

04  Floor and wall tiling — substrate, waterproofing and set-out, decided before joinery lands. Kitchen Tiling.

05  Internals — drawer systems, corner solutions, pantry fit-out and bin placement. Kitchen Storage.

06  Lighting and power — task, ambient and under-bench, positioned while the walls are still open. Lighting guide.

Field label — twelve stages, four groups

Where your planning meets the build

Twelve stages read as a long list. Grouped into four, it becomes obvious where a change is easy and where it is expensive.
The further right you move, the more a decision costs to reverse.

Design
Consultation · Measure · Design · Quote
Nothing is ordered and nothing is removed. Changes here cost only time at the table.

Supply
Materials
Selections are locked, joinery is scheduled, longer-lead items are ordered. A change of mind now moves everything behind it.

Build
Demolition · Preparation · Cabinetry
The room is stripped, services and substrates corrected, then cabinetry set level and square to the walls as they really are.

Finish
Benchtops · Splashback · Finishing · Handover
Benchtops are templated off installed joinery, the splashback follows, then trims, seals, appliance connection and a walk-through.

Field label — the weeks in between

Preparing the house, then living in it
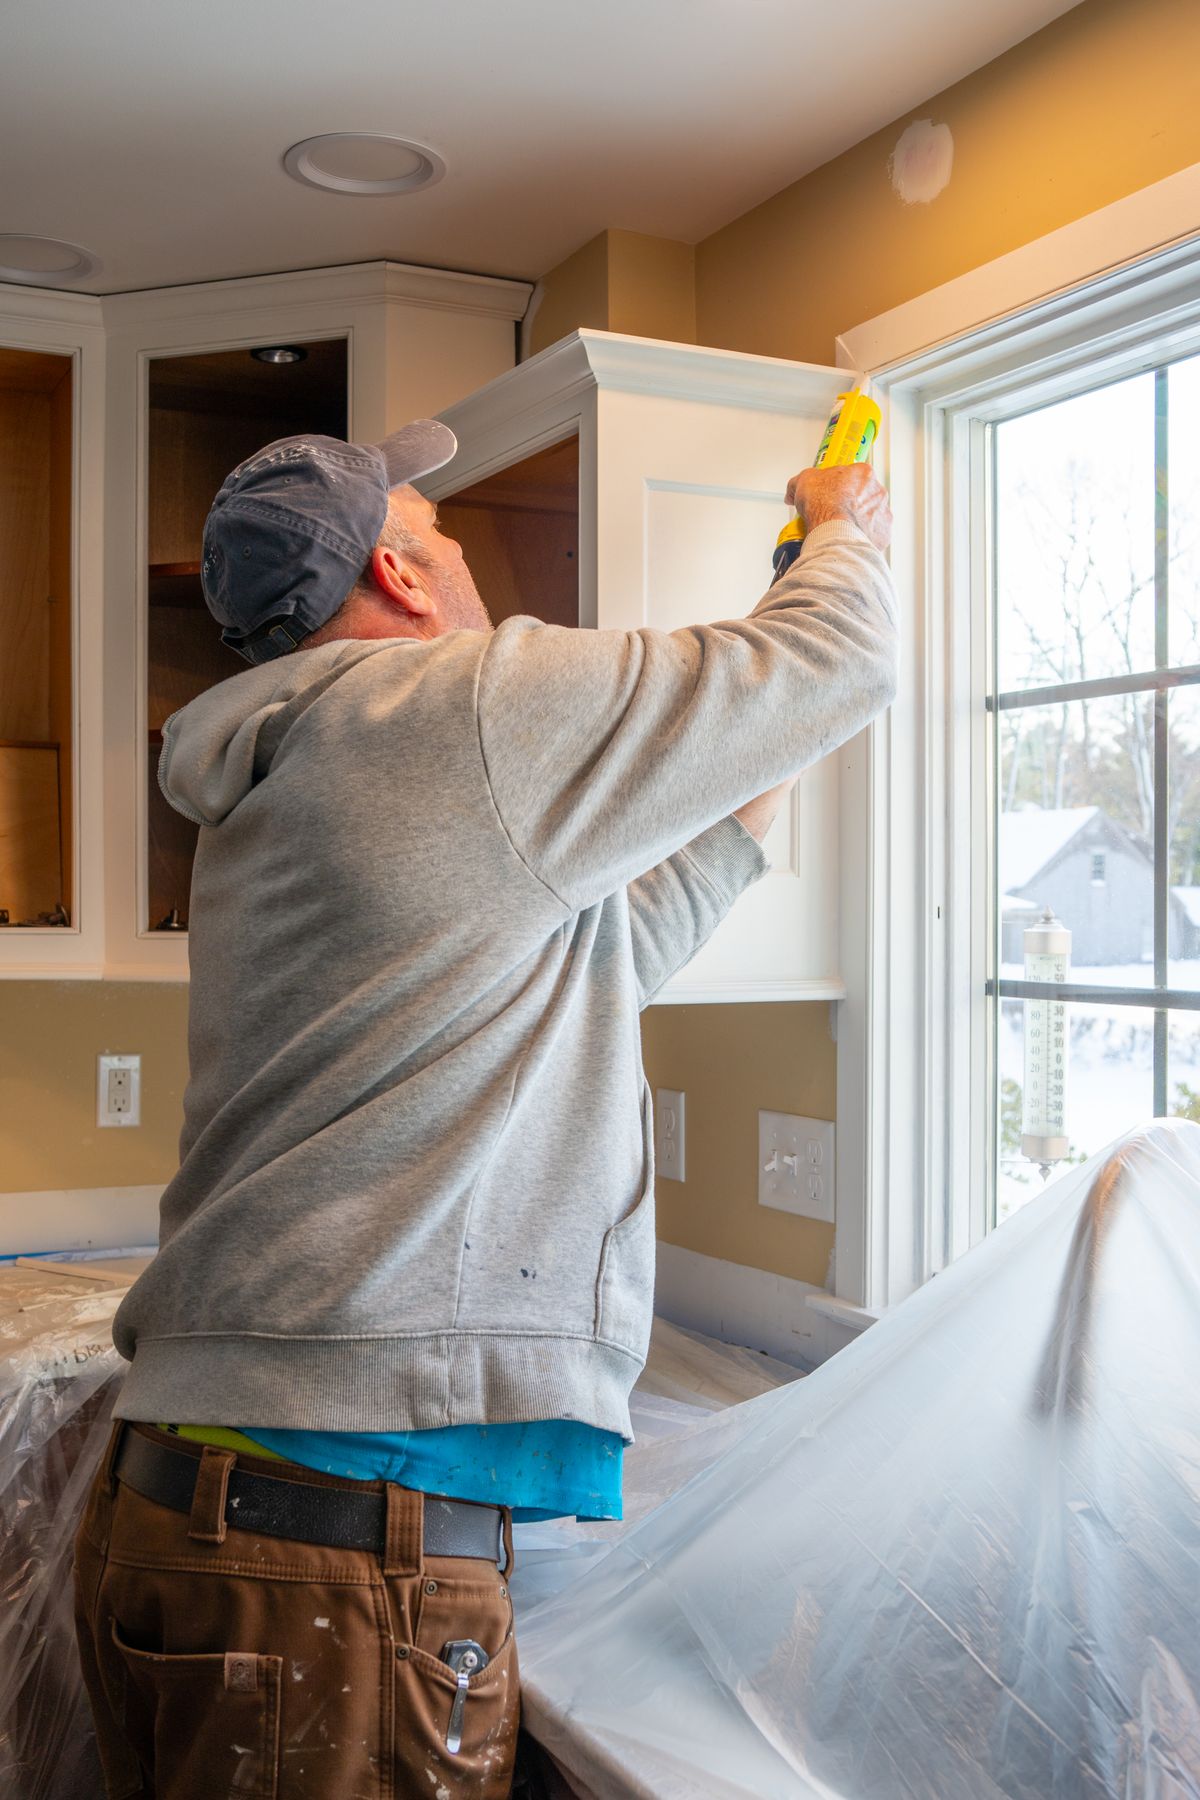
Demolition day is easier when it is planned rather than survived. Empty every cupboard and label the boxes by where things will live in the new kitchen, not where they lived in the old one. Set up a temporary kitchen well away from the work zone — fridge, kettle, microwave, a table and a tub for washing up — and keep it out of the trades’ path.
Agree the practical details in advance: which door the trades use, where the skip or trailer stands, how the floor and hallway are protected, and which room the dust is sealed out of. Expect the room to be inspected once it is open — old waterproofing, tired wiring, a wall that is out by more than the plan allowed — and expect a short conversation about it. Behind a benchtop, walls are honest for the first time in decades.
Planning finishes where the build begins. When your notes, your measurements and your decision about the layout are in hand, the scope stops being a wish and becomes a plan that can be priced — the whole of it set out under Complete Kitchen Renovations. Bring what you have recorded and request a measure and quote, or ask a question first through our contact form.
A worker applies sealant or filler to the upper trim of a kitchen cabinet beside a window, with surrounding surfaces protected by plastic sheeting.
Reference photograph: sealing the top of a cabinet run with the room still sheeted — the finishing stage, and the point at which the planning either shows or does not.