Kitchen cabinets and joinery in Moorabbin
01 Carcass construction and fixings
02 Door profiles, handles and hardware
03 Finishes compared for wear and cleaning
04 Where cabinetry sits in the build
05 Doors only, or new carcasses?
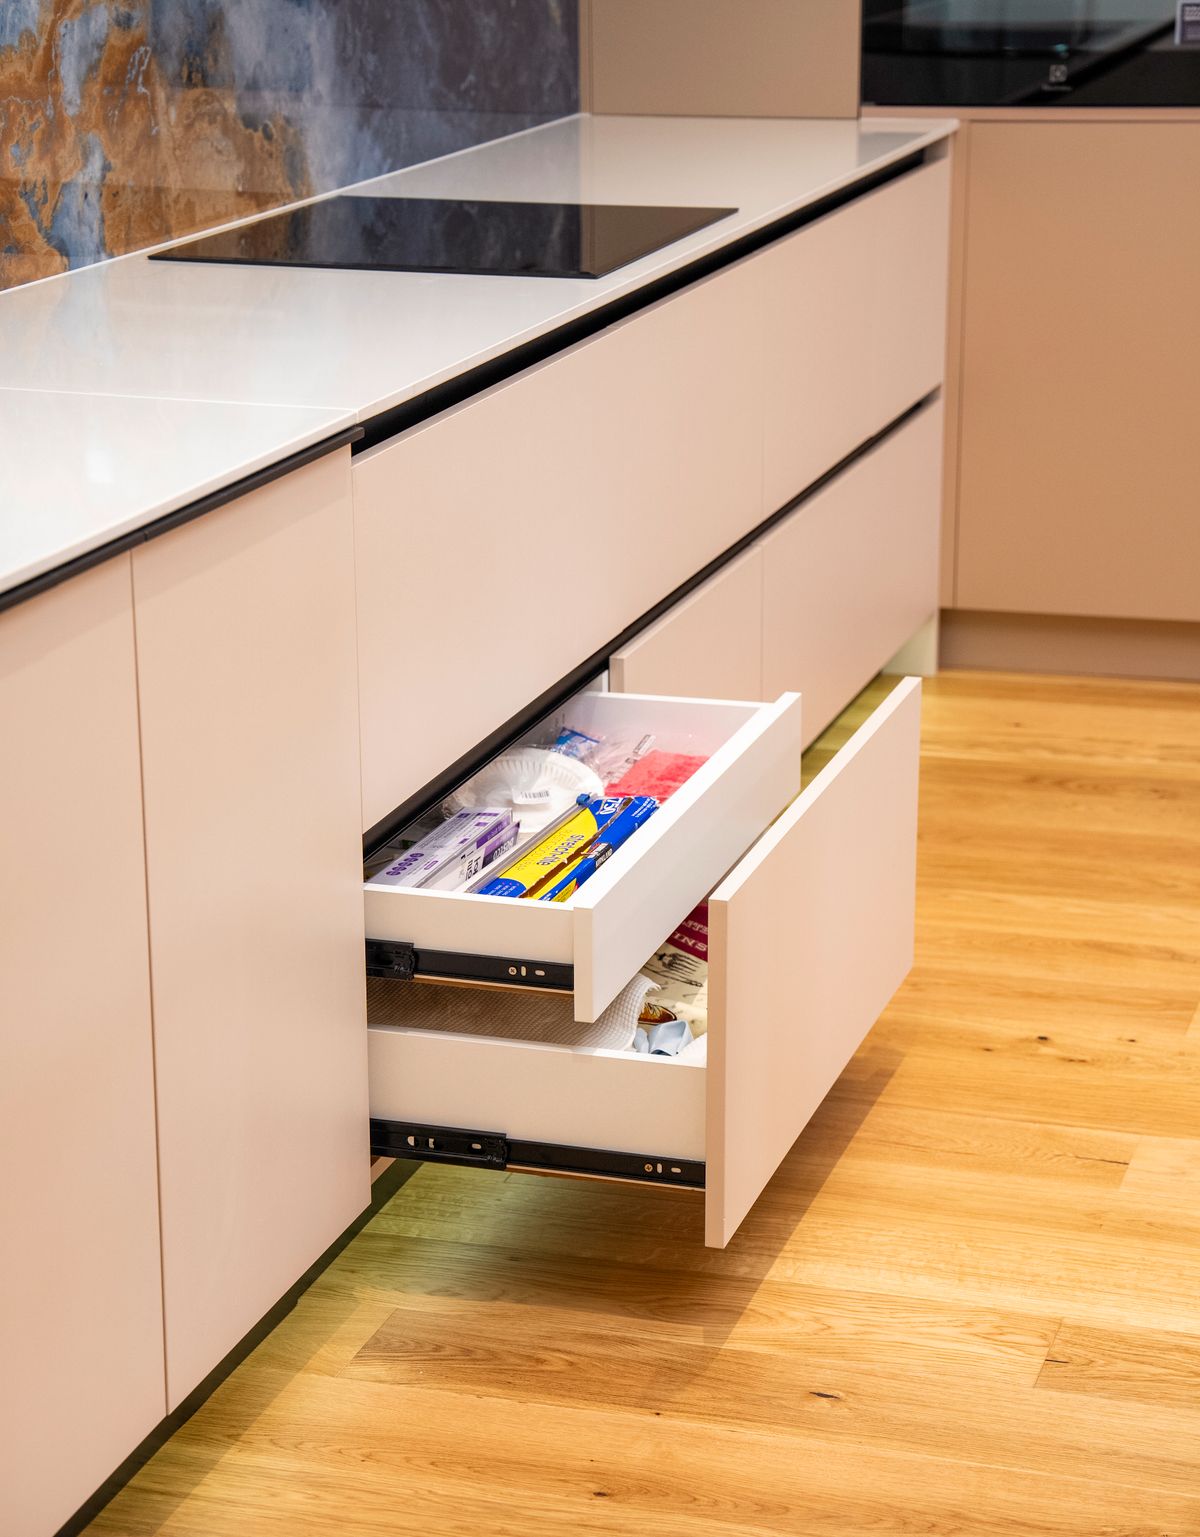
The box behind the door
A cabinet is a board box, edged on its exposed faces, sitting on adjustable legs and fixed back to the wall. In Moorabbin and Highett houses the walls are rarely plumb and the floors are rarely level, so the legs and scribes are what keep a bench line straight when the room is not. Moisture-resistant board goes wherever there is a sink, a dishwasher or a laundry door nearby.
The details that decide the life of the kitchen are unglamorous: board thickness, whether the back panel is captured in a groove or stapled on, how shelves are supported, and whether hinge and runner fixings land in material that will still hold them after a decade of daily opening. Carcasses that stay square are what let a stone benchtop sit flat and a splashback meet it cleanly instead of being packed out with silicone.
Standard modules cover most runs. Where a chimney breast, a meter box, an angled wall or a side door interrupts the line, the box is drawn to the measured dimension instead — that is custom cabinetry, and on most jobs only part of the kitchen needs it.
What you see, and what you feel
Profile sets the character of the room. A flat slab door reads quiet and modern and is the easiest surface to wipe. A shaker profile carries a frame and a recessed panel, suits period bayside homes, and collects a little more dust in the corners. V-groove and routed profiles sit between the two. Overhead doors can be shortened, extended to the ceiling, or replaced with open shelving where a wall would otherwise feel heavy.
Handles change the feel more than most people expect. A pull handle is easy on hands and gives a small visual rhythm along the run. Handleless work — a routed finger pull or a shadow rail — keeps the plane unbroken but demands tighter gaps, because every misalignment shows along the line of the pull.
Hardware is the first thing to fail when it is under-specified. Soft-close hinges with adjustment in three directions, undermount runners rated for the weight they will actually carry, and full-extension drawers so the back of the cabinet is usable. Hinges and runners are also the cheapest part of the kitchen to upgrade at the quoting stage and the most disruptive to change later.

Wear and cleaning, plainly
Two-pack polyurethane
Surface
Sprayed colour cured onto a routed substrate, so profiles and flat doors carry one seamless face.
Wear
Holds up well under daily use; a hard knock on an edge can chip the cured film.
Cleaning
Damp cloth only — abrasive creams dull a matte sheen.
Repair
Touch-up spraying is possible, though it reads under raking light.
Laminate and melamine
Surface
A pressed decorative face bonded to board and edged on the exposed sides — the most wear per dollar of the three.
Wear
The face is tough; the edge banding is the weak point.
Cleaning
Warm water and a cloth; no solvents at the joins.
Repair
Not refinished: a chipped face or lifted edge is replaced, so keep dishwasher steam away from weak edging.
Timber veneer and solid
Surface
Real grain, which can be run continuously across a bank of doors so the pattern reads as one piece.
Wear
Marks soften rather than chip; colour shifts with daylight.
Cleaning
Wipe with the grain and dry; keep water off the edges.
Repair
Recoatable where the finish is specified for it, which is what heat and steam eventually ask for.
Cabinetry sets the order of everything after it
Within the twelve stages, cabinetry lands in the middle: Design → Quote → Materials → Demolition → Preparation → Cabinetry → Benchtops → Splashback → Finishing → Handover. Doors, finishes and hardware are chosen at design and ordered at materials, well before anything is pulled out, because production time for joinery sets the date the rest of the trades can start.
Once the boxes are installed and levelled, the benchtop is templated off them rather than off the drawing, which is why the cabinets have to be right first. The splashback is then measured off the finished benchtop and the underside of the overheads, and any tiling follows the same order. Change a cabinet height after installation and three other measurements change with it.
Full sequence, stage by stage: our 12-step renovation process.
Doors only, or new carcasses?
Can I replace the doors and keep the cabinets?
Often, yes. If the carcasses are square, dry, firmly fixed and the layout still works, new doors, new hardware and a new benchtop change the room completely. That is a kitchen makeover, and it is decided on site rather than from photographs.
When do the carcasses have to go?
When the sink base is swollen, when fixings no longer hold, when shelf pins have torn out, or when the module sizes are wrong for how the kitchen is used — for example a bank of narrow doors where drawers belong. If the layout itself is the problem, the answer is a complete renovation.
Are drawers worth the extra over doors?
Below the bench, usually. A deep drawer brings the back of the cabinet to you instead of asking you to kneel, and it carries weight better than a shelf. Doors still earn their place for tall cupboards, under-sink plumbing and appliance housings. See kitchen storage for how the internals are planned.
Does a new benchtop force new cabinets?
Not always, but the existing boxes have to be sound and level enough to carry stone, and removing an old top can damage a tired carcass. We check that at the measure before pricing either option.
Custom Cabinetry — joinery drawn to an awkward measured dimension.
Kitchen Storage — what goes inside the boxes, planned before they are built.
Kitchen Makeovers — doors, hardware and surfaces on sound existing carcasses.
Complete Kitchen Renovations — when the layout, not the finish, is the problem.
Guide: Choosing Kitchen Cabinetry — doors, finishes and hardware in longer form.